How to Use Viscosity to Connect to b.VPN Servers on Mac OS
Note
Viscosity is free to use for 30 days. After trial period is over, you’ll need to purchase lifetime license for $9.
Downloading OpenVPN Configuration file
Go to this link:
https://www.bvpn.com/en/accounts/profile/openvpn_server_list/
Click “Generate” below your preferred server.

Downloading and Installing Viscosity
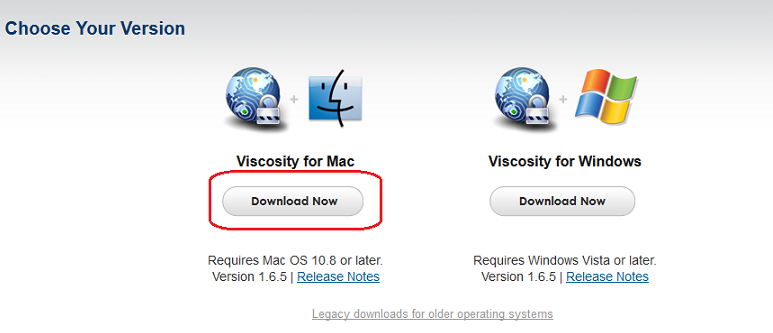
Go to this link:
https://www.sparklabs.com/viscosity/download/
Click “Download Now” button below Mac icon.
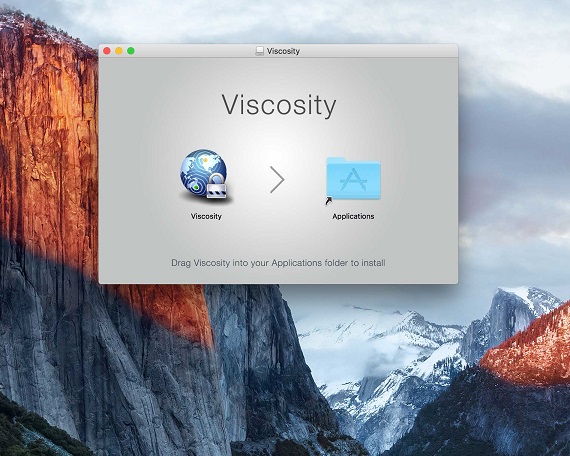
Double click viscosity.dmg file (commonly located in your Downloads folder).
Drag it to Application folder.
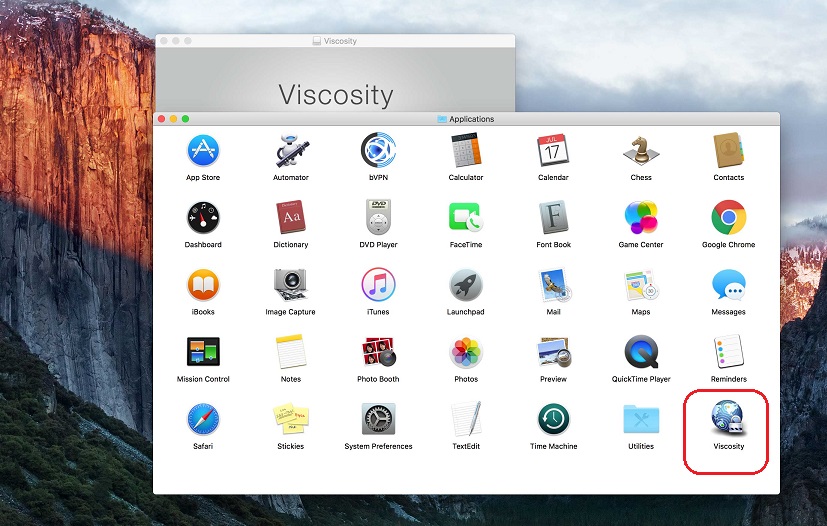
Double click Viscosity icon.
A dialogue box will appear stating that “Viscosity” is an application downloaded from the Internet. Click “Open”.
A new dialogue box will appear, click “Install”.
Now you will be asked to provide your Admin “Username” and “Password” to continue. Click “Install Helper”. Wait till it’s installed.
Establishing connection
Click “Viscosity” icon located in menu bar, click “Preferences”.
In “Connections” pop-up window, click “+” icon then select “Import connection”.
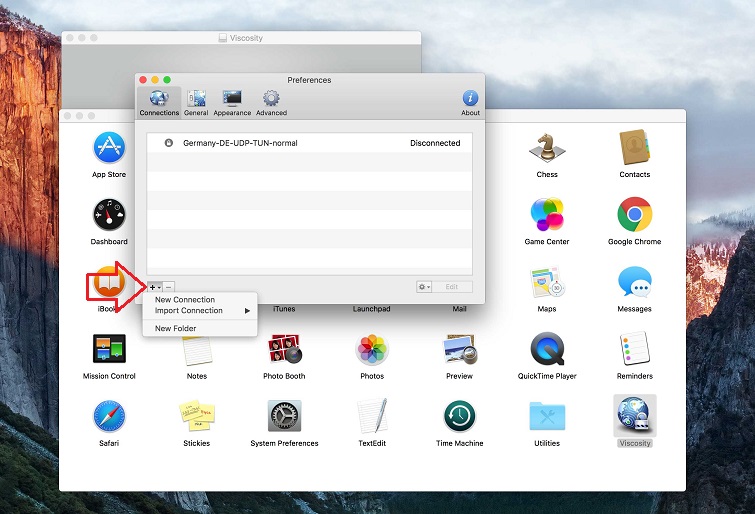
Select “From file…”.

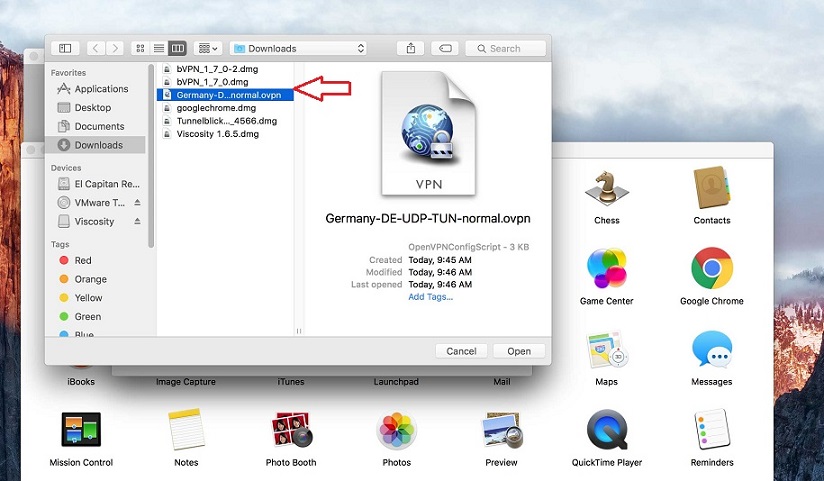
Click the OpenVPN config file you’ve downloaded previously. Click “Open”.
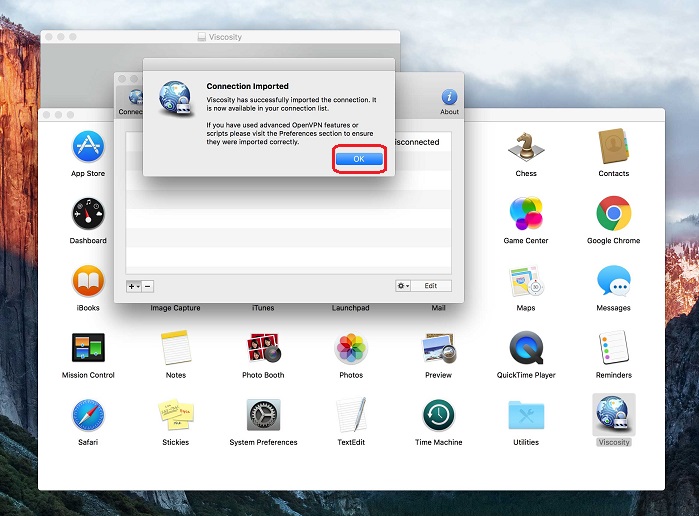
A confirmation message will appear stating that file has been successfully imported. Click “OK”.
Insert your b.VPN account details (Username and Password). Tick the option “Remember details in my Keychain” and click “OK”.
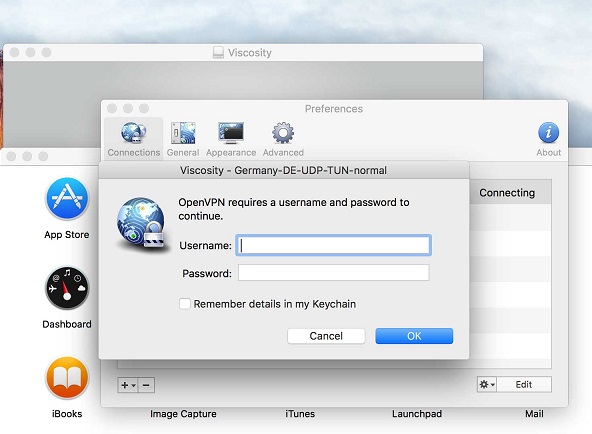
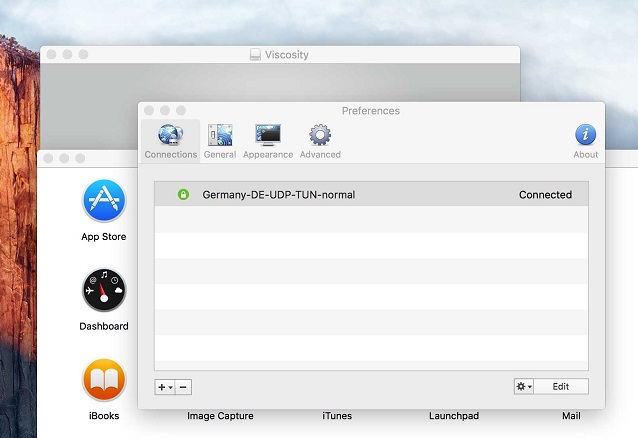
Wait while connection is being established.
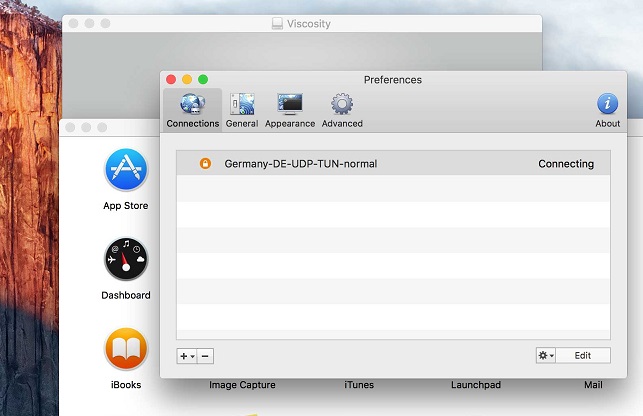
This is how you window should look like when you’re connected.